How to Add Chat on Website: Technical Guide (2026) | ZynfoAI
Sachin Jaiswal
In this article
Share Knowledge
Learning how to add chat on website pages requires translating strategic plans into technical reality. This guide provides the practical implementation steps needed to deploy a chat website experience across any platform. Whether you choose simple JavaScript embedding for rapid deployment or API integration for custom solutions, you’ll find detailed instructions here.
Before implementing, ensure you’ve completed the strategic planning covered in how to create a chatbot for a website. With clear objectives and conversation designs in hand, this guide helps you execute the technical deployment efficiently. Using ZynfoAI, the technical barriers to launching your chat website are practically eliminated.
Table of Contents
- Choosing Your Implementation Method
- JavaScript Widget Embed Setup
- WordPress Chat Integration
- Shopify Chat Implementation
- React, Next.js, and Single Page Applications (SPA)
- Wix, Squarespace, and Webflow Setup
- Custom Website API Integration
- Performance Optimization Techniques
- Testing Your Chat Deployment
- Debugging Common Technical Issues
- Frequently Asked Questions (FAQ)
- Conclusion
Choosing Your Implementation Method
Selecting the right technical approach depends on your website platform, technical resources, and customization requirements.
Implementation Method Comparison
| Feature | Zynfo AI | API Integration |
|---|---|---|
| Setup Complexity | Copy-paste code (Low) | Custom development (High) |
| Time to Deploy | 5-15 minutes | 1-2 weeks |
| Technical Skill | None required | Developer needed |
| Maintenance | Platform handles automatically | Self-managed code |
| Deep Integration | Standard connectors & variables | Unlimited custom possibilities |
| UI Control | Dashboard-based visual styling | Full pixel-perfect custom UI |
Method 1: JavaScript Embed (Recommended for 90% of sites)
The simplest and most universal method. A small script tag loads the chat widget asynchronously. Best for rapid deployment and standard functionality.
Method 2: CMS Plugins/Apps
Platform-specific integrations for WordPress, Shopify, etc. Best for non-technical users who want seamless integration within their existing admin dashboard.
Method 3: API Integration
Direct backend or custom frontend integration using REST APIs. Best for complex web apps, custom user interfaces, or deep data synchronization requirements.
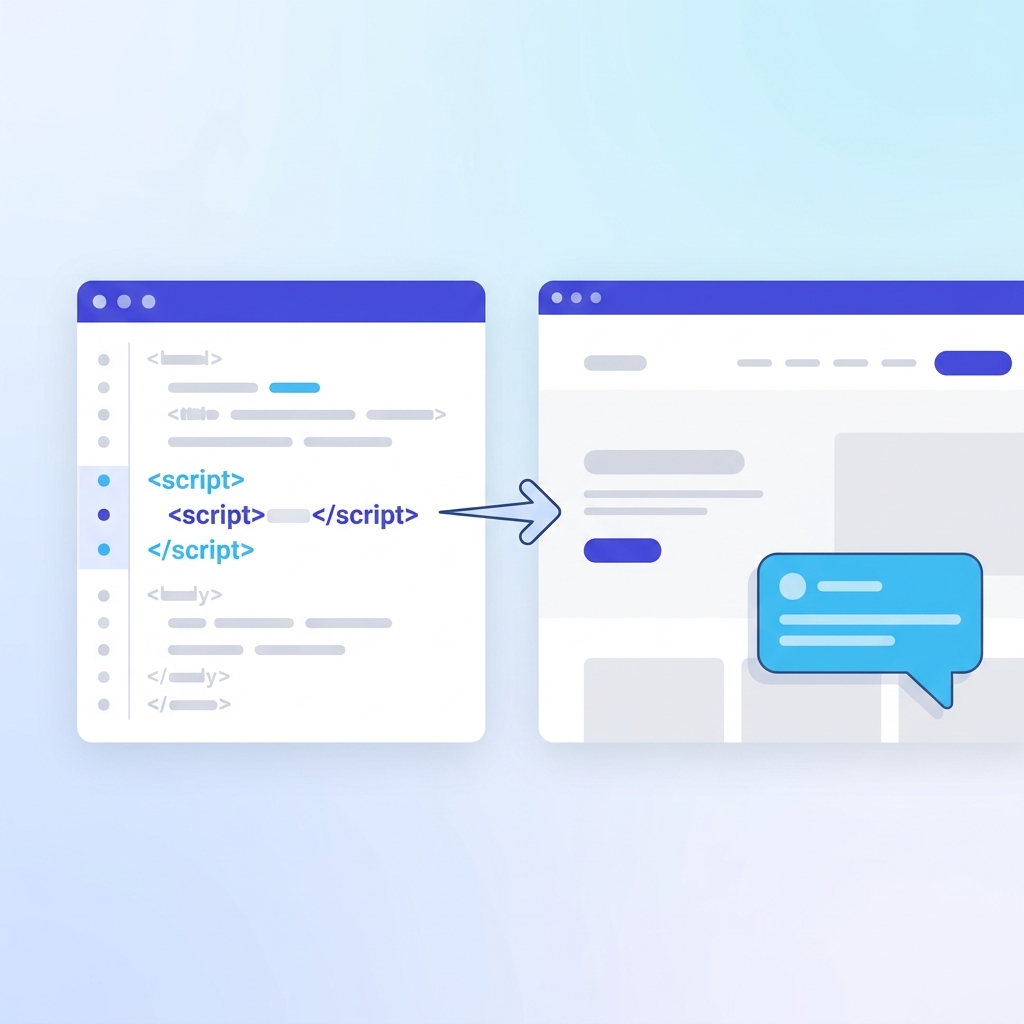
JavaScript Widget Embed Setup
The JavaScript embed is the universal method to add chat to any website that allows custom HTML/JS. ZynfoAI uses a lightweight, asynchronous script.
The Standard Embed Code
Here is the standard ZynfoAI embed script:
<!-- ZynfoAI Chatbot -->
<script
  id="__zynfoai-chat-widget__"
  src="https://app.zynfo.ai/widget/embed.js"
  data-chatbot-id="YOUR_BOT_ID"
  async>
</script>
Implementation Steps
- Log into your ZynfoAI dashboard and go to your Bot settings.
- Locate your unique
Bot ID(a string of characters). - Replace
YOUR_BOT_IDin the snippet above with your actual ID. - Paste this code into your website’s HTML, ideally just before the closing
</body>tag.
Advanced Configuration (Window Object)
You can pass contextual data to the widget before it loads using the global ChatWidgetConfig object:
<script>
  window.ChatWidgetConfig = {
    user: {
      name: "John Doe",
      email: "john@example.com",
      id: "user_12345"
    },
    metadata: {
      plan: "Premium",
      pageContext: "pricing"
    }
  };
</script>
<script id="__zynfoai-chat-widget__" src="https://app.zynfo.ai/widget/embed.js" data-chatbot-id="YOUR_BOT_ID" async></script>
This data is securely passed to the AI, allowing for personalized responses and lead capture context.
WordPress Chat Integration
Adding chat to WordPress can be done via plugins or theme modification. See our detailed WordPress AI chatbot guide for a deeper dive.
Method 1: Using a Plugin (Safest)
Using a plugin like “Insert Headers and Footers” (WPCode) is the safest method as it survives theme updates.
- Navigate to Plugins > Add New.
- Search for WPCode (Insert Headers and Footers) and install/activate it.
- Go to Code Snippets > Header & Footer.
- Paste your ZynfoAI embed script into the Footer section.
- Click Save Changes.
Method 2: Theme Functions (For Developers)
Add this to your child theme’s functions.php:
function add_zynfoai_chat_widget() {
    ?>
    <!-- ZynfoAI Chatbot -->
    <script
      id="__zynfoai-chat-widget__"
      src="https://app.zynfo.ai/widget/embed.js"
      data-chatbot-id="YOUR_BOT_ID"
      async>
    </script>
    <?php
}
add_action('wp_footer', 'add_zynfoai_chat_widget');
Shopify Chat Implementation
For e-commerce, an e-commerce AI chatbot is critical for conversions. Here is how to implement it on Shopify. For advanced cart integration, read our Shopify integration guide.
Editing Theme Files
- Go to your Shopify Admin > Online Store > Themes.
- Click the … (Actions) button next to your active theme and select Edit code.
- Open the
theme.liquidfile under the Layout folder. - Scroll to the very bottom and find the closing
</body>tag. - Paste your ZynfoAI embed script just above it.
- Click Save.
Passing Shopify Customer Data
To personalize the chat experience for logged-in Shopify customers, use Liquid tags to populate the configuration:
<!-- ZynfoAI Chatbot configuration -->
{% if customer %}
<script>
  window.ChatWidgetConfig = {
    user: {
      name: "{{ customer.name }}",
      email: "{{ customer.email }}",
      id: "{{ customer.id }}"
    }
  };
</script>
{% endif %}
<script id="__zynfoai-chat-widget__" src="https://app.zynfo.ai/widget/embed.js" data-chatbot-id="YOUR_BOT_ID" async></script>
React, Next.js, and Single Page Applications (SPA)
Single Page Applications require a slightly different approach since the page doesn’t fully reload when navigating.
React / Next.js Implementation
Create a reusable ChatWidget component:
import { useEffect } from 'react';

const ChatWidget = ({ botId }) => {
  useEffect(() => {
    // Check if script already exists
    if (document.getElementById('__zynfoai-chat-widget__')) return;

    const script = document.createElement('script');
    script.id = '__zynfoai-chat-widget__';
    script.src = 'https://app.zynfo.ai/widget/embed.js';
    script.setAttribute('data-chatbot-id', botId);
    script.async = true;

    document.body.appendChild(script);

    // Cleanup on unmount
    return () => {
      const widget = document.getElementById('__zynfoai-chat-widget__');
      if (widget) widget.remove();
      // Remove the generated UI elements if necessary
      const container = document.getElementById('zynfo-widget-root');
      if (container) container.remove();
    };
  }, [botId]);

  return null; // Renders nothing directly
};

export default ChatWidget;
Then mount it once in your root layout (_app.js in Next.js pages router, or layout.tsx in Next.js App Router).
Handling Route Changes
Since ZynfoAI’s widget tracks session state internally, it handles SPA navigation gracefully without needing re-initialization on every route change.
Wix, Squarespace, and Webflow Setup
Website builders make it easy to inject custom code globally.
Wix
- Go to Settings in your site’s dashboard.
- Scroll to the Advanced section and click Custom Code.
- Click + Add Custom Code.
- Paste the snippet.
- Name it “ZynfoAI Chat”.
- Select Add Code to Pages: All pages.
- Place Code in: Body - end.
- Click Apply.
Squarespace
(Note: Requires a Business or Commerce plan)
- Go to Settings > Advanced > Code Injection.
- Scroll down to the Footer section.
- Paste the ZynfoAI embed script.
- Click Save.
Webflow
- Open your Project Settings.
- Go to the Custom Code tab.
- Scroll down to Footer Code (Before
</body>tag). - Paste the script.
- Save changes and Publish the site.
Custom Website API Integration
For teams building fully custom experiences, ZynfoAI offers a REST API. This allows you to build your own UI while leveraging our knowledge base and RAG capabilities.
Interacting with the API
You can learn more about this in our API and AI integration guide.
// Example: Sending a message to the ZynfoAI API
async function sendMessage(botId, message, sessionId) {
  const response = await fetch(`https://api.zynfo.ai/v1/chat`, {
    method: 'POST',
    headers: {
      'Content-Type': 'application/json',
      'Authorization': `Bearer YOUR_API_KEY`
    },
    body: JSON.stringify({
      bot_id: botId,
      session_id: sessionId,
      message: message
    })
  });

  return await response.json();
}
This approach is ideal for SaaS platforms embedding chat directly into their native UI components.
Performance Optimization Techniques
A poorly implemented chat widget can hurt your Core Web Vitals. ZynfoAI is designed to be lightweight, but best practices still apply.
Asynchronous Loading
Always ensure the async attribute is present on the script tag. This tells the browser to download the script in the background without blocking the rendering of your HTML.
Delaying Initialization (Lazy Loading)
For extreme performance optimization, you can delay loading the widget until the user interacts with the page (scroll, click, or mouse movement) or until a timer fires.
// Lazy load after 3 seconds or on first interaction
function loadZynfoWidget() {
  if (document.getElementById('__zynfoai-chat-widget__')) return;

  const script = document.createElement('script');
  script.id = '__zynfoai-chat-widget__';
  script.src = 'https://app.zynfo.ai/widget/embed.js';
  script.setAttribute('data-chatbot-id', 'YOUR_BOT_ID');
  script.async = true;
  document.body.appendChild(script);
}

// Load on timer
let widgetLoaded = false;
const loadTimer = setTimeout(() => {
  if(!widgetLoaded) { loadZynfoWidget(); widgetLoaded = true; }
}, 5000);

// Load on interaction
['scroll', 'mousemove', 'touchstart'].forEach(event => {
  window.addEventListener(event, () => {
    if(!widgetLoaded) { loadZynfoWidget(); widgetLoaded = true; }
  }, { once: true, passive: true });
});
This ensures your initial page load metrics (LCP, TBT) remain absolutely pristine.
Testing Your Chat Deployment
Before announcing your new chatbot, perform a thorough QA process.
Pre-Launch Checklist
- Visibility: Does the widget appear on all intended pages?
- Exclusions: Is it properly hidden on pages where you don’t want it (e.g., specific landing pages)?
- Mobile Layout: Open it on a smartphone. Does it scale properly? Does the keyboard cover the input field?
- Knowledge Retrieval: Ask 5 common questions. Are the answers accurate and grounded in your AI knowledge base?
- Fallback: Ask an impossible question. Does the bot gracefully admit it doesn’t know, or offer a live chat handoff?
Cross-Browser Testing
Ensure you test across modern browsers: Chrome, Safari (iOS and macOS), Firefox, and Edge.
Debugging Common Technical Issues
Issue: The Widget Isn’t Showing Up
- Check the Console: Open Developer Tools (F12) and look for red errors in the Console.
- Check Bot ID: Ensure you copied the full
Bot IDwithout missing characters. - Ad Blockers: Sometimes strict ad blockers (like Brave’s shields or uBlock Origin) block third-party scripts. ZynfoAI serves from a clean domain, but test with blockers disabled.
Issue: The Widget Overlaps Other UI Elements
- Z-Index Conflict: Your website might have elements with extremely high z-indexes.
- Solution: You can inject custom CSS via the ZynfoAI dashboard to adjust the widget’s container, or adjust your site’s CSS to accommodate the widget.
Issue: Answers are Outdated
- Knowledge Base Sync: If you updated your website but the bot is giving old answers, you need to re-ingest the URLs or re-upload the documents in the ZynfoAI dashboard to update the vector embeddings.
Frequently Asked Questions (FAQ)
Where exactly do I paste the embed code?
Paste it just before the closing </body> tag of your HTML document. This ensures the rest of your page loads first. For CMS platforms, use their respective “Footer Code” or “Custom HTML” injection areas.
Can I add chat to just one specific page?
Yes. Instead of putting the code in your global footer, only place the script tag in the HTML of that specific page. In WordPress, you can use conditional tags like if(is_page('contact')) in your functions file.
Will adding chat affect my site speed or SEO?
ZynfoAI is highly optimized. Because the script uses the async attribute, it does not block page rendering. It will not negatively impact your SEO or Core Web Vitals if installed correctly.
Do I need to be a developer to install this?
No. For 95% of use cases, installing ZynfoAI is a simple copy-and-paste operation. No coding knowledge is required unless you are building a custom UI via our API.
Can the chat widget capture leads and send them to my CRM?
Yes. Through ZynfoAI’s integrations, you can configure the bot to act as a lead capture chatbot, collecting emails and automatically forwarding them to your CRM or via Slack notifications.
Can I test the chat widget on a staging site first?
Yes. You can paste the script on your staging domain, test it thoroughly, and then deploy the exact same script to production. The bot will behave identically.
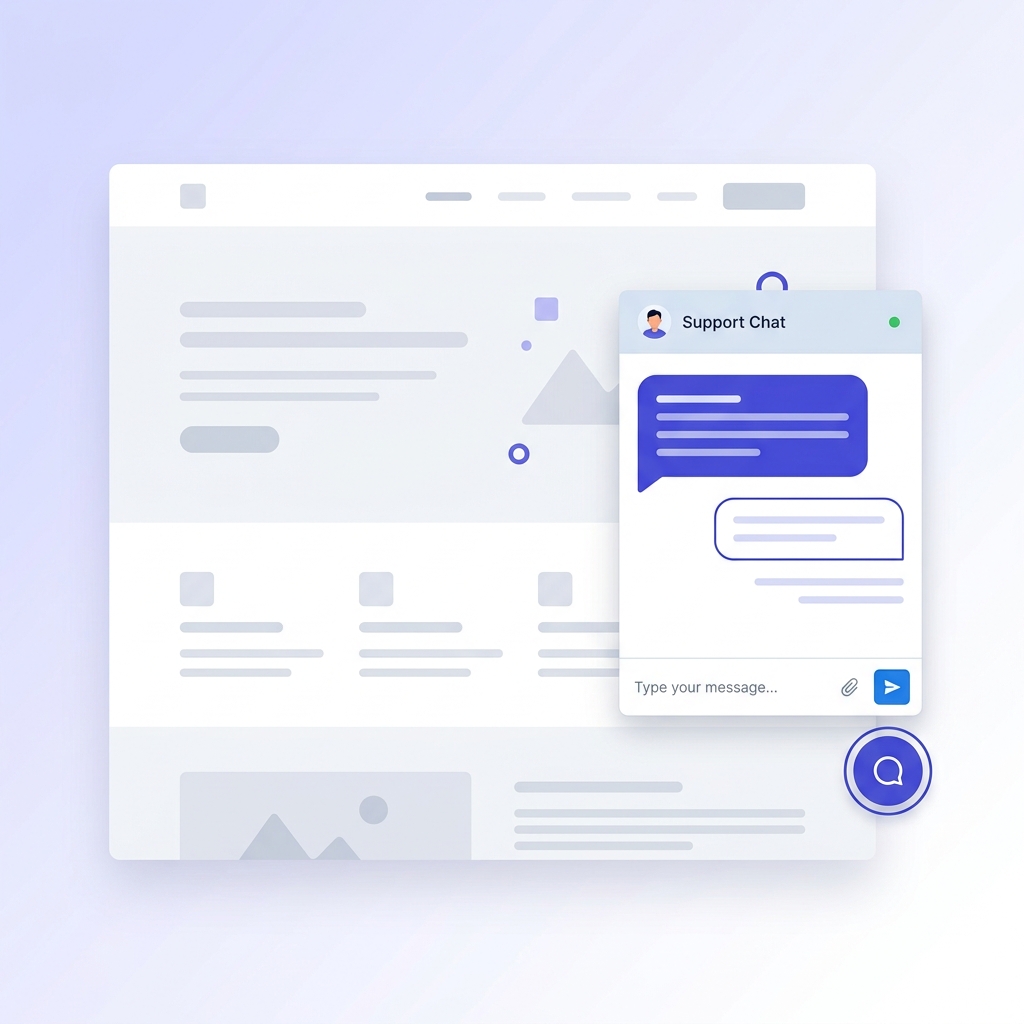
Does the chat widget work on mobile devices?
Yes, the ZynfoAI widget is fully responsive. On mobile devices, it automatically adapts to provide a full-screen, native-feeling chat experience that respects mobile keyboards and safe areas.
How do I change the widget’s color or position?
You do not need to change the code. All visual customizations (colors, position, welcome messages) are managed visually within the ZynfoAI dashboard and update instantly on your site. Read our chat widgets design guide for best practices.
What happens if my website goes offline?
The chat widget is hosted on ZynfoAI’s edge network. However, if your website HTML cannot load, the widget cannot load. If your site is up but ZynfoAI experiences an issue, the script is designed to fail silently without breaking your site.
Can I have different chatbots for different pages?
Yes. You can create multiple bots in your ZynfoAI dashboard, each with a unique Bot ID and knowledge base. Just place the corresponding script tag on the respective pages. This is great for agencies managing multiple brands.
Conclusion
Successfully adding chat to your website requires matching the right technical approach to your platform and requirements. JavaScript embedding provides universal accessibility, CMS plugins offer platform-native simplicity, and API integration delivers unlimited customization for complex needs.
The implementation methods detailed in this guide cover the vast majority of website scenarios. From simple copy-paste deployments to sophisticated custom integrations, you have clear technical paths forward. Remember that implementation builds upon the strategic foundation established when you create your chatbot strategy and design the widget interface.
Technical deployment is just the beginning. After successful implementation, monitor performance metrics, gather user feedback, and iterate continuously. The best chat deployments evolve through ongoing optimization, expanding capabilities as business needs grow and user expectations evolve.
Choose your implementation method, follow the steps outlined for your platform, test thoroughly, and launch with confidence. The technical barriers have never been lower — the opportunity to engage your visitors through conversational interfaces has never been greater.
Ready to Add Chat to Your Website?
Deploy live chat on your website today with ZynfoAI. Simple embed code, powerful AI capabilities, and comprehensive support for every platform.
No credit card required · Free plan available · Setup in minutes
Related Keywords & Expertise
You Might Also Like
Website Chat Widget: How to Add, Design & Optimize (2026) | ZynfoAI
Complete guide to website chat widgets. Learn how to add, customize, and optimize a chat widget using ZynfoAI for higher engagement and conversions.
How to Create a Chatbot for a Website in Minutes (2026) | ZynfoAI
Learn how to create a chatbot for your chat website using ZynfoAI. Step-by-step guide to setup, knowledge base training, and website chat widget embed.
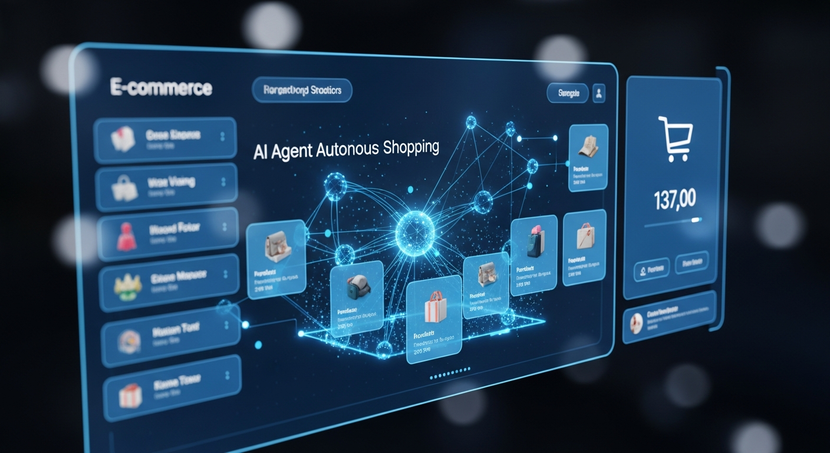
How AI Agents Are Transforming E-commerce
Discover how autonomous ecommerce agents and agentic AI are revolutionising online retail. Learn high-impact use cases for AI agents in e-commerce, and how an ai agent e-commerce strategy drives growth.
Automate Support & Capture Leads
with
AI Agents
Start using AI agents to answer customer questions, capture leads, and support your business 24/7 — without adding more work to your team.
Free trial · Setup in 5 minutes · Cancel anytime
Questions? Talk to us.