Integrations 7 min read
WordPress Chatbot with Auto Responses: Setup Guide

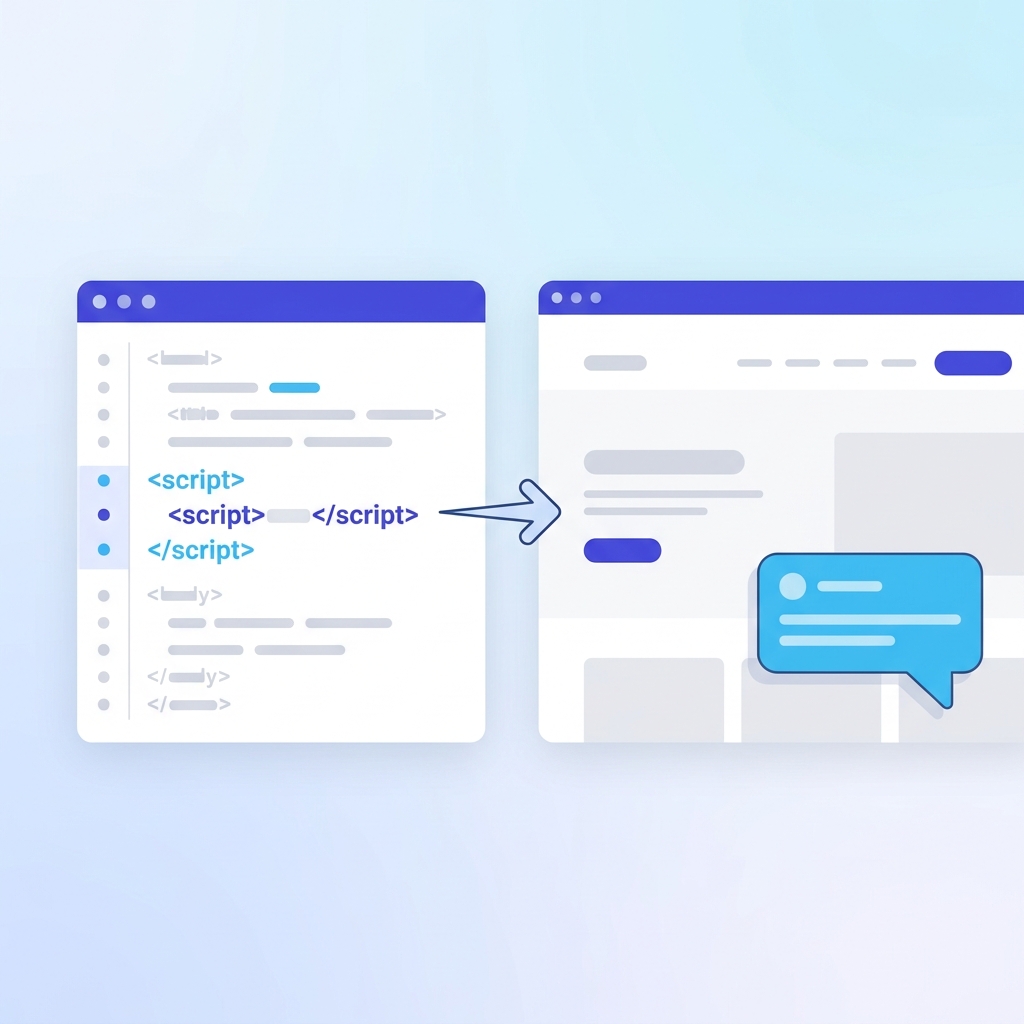
A WordPress chatbot with auto responses replies to visitors when you’re busy or offline. The useful kind answers from your own pages, such as your pricing or delivery page, instead of sending a canned “Thanks, we’ll get back to you”. You add it to WordPress with one script tag, without installing a plugin.
This guide sets up an AI agent that answers from the pages you pick, shows the source, collects a lead when someone is ready, and turns the questions it can’t answer into help-desk tickets for you. It runs in a chat widget in the corner of your site.
The short version
- Add your site URL in ZynfoAI and pick the pages the agent should learn from.
- Write a greeting, a fallback message and a few lines of instructions.
- Style the widget and check it in the desktop and mobile preview.
- Paste the embed code into WordPress with a header-and-footer plugin or your child theme.
- Add your domain to Allowed Domains, test in the Playground, and publish.
The rest of this post goes through each step and the decisions behind it.
Two kinds of auto responses
| Rule-based auto replies | AI auto responses | |
|---|---|---|
| What the visitor gets | A fixed message or a menu | An answer written from your content |
| Handles questions you didn’t predict | No | Yes, if the answer is on your site |
| Setup | Write every reply | Pick pages, write instructions |
| Risk | Unhelpful, but never wrong | Needs good sources and a fallback |
Rule-based replies are fine for “We’re closed, here are our hours”. They fall apart the first time someone asks “Do you deliver to Leeds on Saturdays?”. AI replies handle that, as long as the answer is written down somewhere you’ve added as a source. When it isn’t, a good agent says so instead of guessing.
Step 1: Teach it your site
In ZynfoAI, add your WordPress URL as a website source. The crawler finds your pages from the sitemap and follows links, and you choose which to import. Start with the pages people ask about: services, pricing, delivery, returns, opening hours, FAQ. Leave out old blog posts that contradict what you offer now.
You can also upload PDFs, Word and Excel files, such as a price list or a brochure, and import Google Docs and Sheets from Google Drive. The Pro plan allows up to 500 sources.
One thing to know: sources don’t update themselves. When you change a page in WordPress, click Resync on that source in ZynfoAI so the agent quotes the new version.
Step 2: Write the replies around the answers
The AI writes the answers. You write everything around them:
- Greeting and welcome messages. “Hi, ask me about prices, delivery or booking a visit.”
- Quick replies. Buttons for your three most common questions.
- Fallback message. What the agent says when it has no source. “I don’t have that on file. Leave your email and we’ll reply today.”
- Instructions. Who the agent is, what it should find out, and what it should never promise. “Don’t quote discounts. Offer a call for anything over 20 units.”
Step 3: Make it look like part of your site
Set the primary and header colours, the corner it sits in, corner radius, size and font size. The live preview shows desktop and mobile. Check that the bubble doesn’t sit on top of your own cookie banner or “Book now” button on mobile.
Step 4: Add the script to WordPress
ZynfoAI gives you one line of embed code:
<script id="__chatbotSdk__" src="https://app.zynfo.ai/widget/embed.js" data-chatbot-id="YOUR_AGENT_ID" async></script>
There are two clean ways to add it.
With a plugin (no code). If you already use a header-and-footer plugin such as WPCode, paste the line into its footer section and save. This survives theme updates.
In your child theme (for developers). Add this to your child theme’s functions.php:
add_action( 'wp_footer', function () {
  echo '<script id="__chatbotSdk__" src="https://app.zynfo.ai/widget/embed.js" data-chatbot-id="YOUR_AGENT_ID" async></script>';
} );
The wp_footer hook prints it before the closing body tag. Use a child theme rather than editing the parent theme, so a theme update doesn’t wipe it.
The async attribute lets the page keep loading while the script downloads. The widget draws a small chat bubble first and loads the full chat window when a visitor reaches for it.
Step 5: Lock it to your domain and test
Add your domain under Allowed Domains so the widget only loads on your sites. Then open the Playground and ask the questions your customers ask, including the awkward ones:
- “How much is it?” (Does it quote the right page?)
- “Can you do it cheaper?” (Does it avoid inventing a discount?)
- “I want to speak to someone.” (Does it open a help-desk ticket?)
Publish when the answers are right. New conversations appear in the AI Inbox.
What to answer automatically, and what to hand off
Let the agent answer anything that’s written down: prices on your site, opening hours, delivery areas, how a service works. Collect a lead when someone asks for a quote or a call. Complaints, exceptions and anything that needs a decision become help-desk tickets for you; live chat human handoff is on the Pro plan. Set your working hours, and outside them the visitor sees your offline message and their details are saved.
If leads are the goal, the lead capture chatbot guide covers qualifying questions.
WooCommerce stores
The same script tag works on a WooCommerce site, since it’s WordPress underneath. Add your product and policy pages as sources and the agent answers product questions from them. It can’t look up WooCommerce orders. Order tracking and product search work on Shopify only. For the full ecommerce setup, see our ecommerce chatbot guide.
When this isn’t the right fit
- You want a free plugin. ZynfoAI is a paid service, from $39/month with no per-resolution fees, and a 7-day free trial with no card needed to start. See pricing.
- You only need an “away” message. A simple contact form or your theme’s built-in options will do.
- You need AI replies on Facebook Messenger or Instagram. ZynfoAI’s AI answers on the website widget and WhatsApp Business; email support automation is on the Pro plan.
Frequently asked questions
Can a WordPress chatbot reply automatically when I’m offline?
Yes. The agent answers from the pages and files you trained it on at any hour. When it has no source, it sends your fallback message and can collect the visitor’s details for you to follow up.
Do I need a WordPress plugin?
No. ZynfoAI is one script tag. Paste it with a header-and-footer plugin you already use, or in your child theme.
Will it work with Elementor, Divi or the block editor?
Yes. The widget is a script, not a page block, so it sits on top of any theme or builder. Check the mobile preview so the bubble doesn’t cover your own buttons.
Does the chatbot update when I edit a page?
Not by itself. Click Resync on the source in ZynfoAI after you change a page.
Will it slow my site down?
The script loads asynchronously and the full chat window loads only when a visitor reaches for it, so your page content isn’t held up.
For platforms other than WordPress, see how to add chat to your website. For design choices, read our chat widget guide. Everything ZynfoAI’s widget can do is on the website chat widget page, and the WordPress integration page has the summary.
Topics
Tools and guides
Put this into practice
AI with Human Handoff
Escalate complex chats to live agents with complete conversation context.
Free ToolChatbot ROI Calculator
Calculate your projected cost savings, ticket deflection rate, and revenue impact.
FeatureShared Team Inbox
Manage website chat and WhatsApp conversations from one workspace.
Free ToolAI FAQ Generator
Turn documents, manuals, and URLs into structured FAQs and schema markup.